The painting process seems pretty straightforward. Whenever you feel it's time to switch up a room—maybe your son or daughter has grown past the bright colors of thier childhood bedroom, maybe it's finally time to move past the original color that came with your home—you pull swatches, pull the furniture away form the walls, and even grab a tarp to catch occasional drips. Simple and strightforward, right?
If you want the investment to last, it's not that simple.
We put together a breakdown of the prep process—why it matters, what is involved, and why doing it right the first time is always worth the extra spend.
Paint prep typically includes cleaning the surface, caulking seams and gaps, sanding rough or glossy areas, patching any damage, and priming, all completed before the first coat of color ever goes on. It is the part of a paint job a homeowner can't inspect once it's finished, and it is the single biggest factor in how long the finish holds.
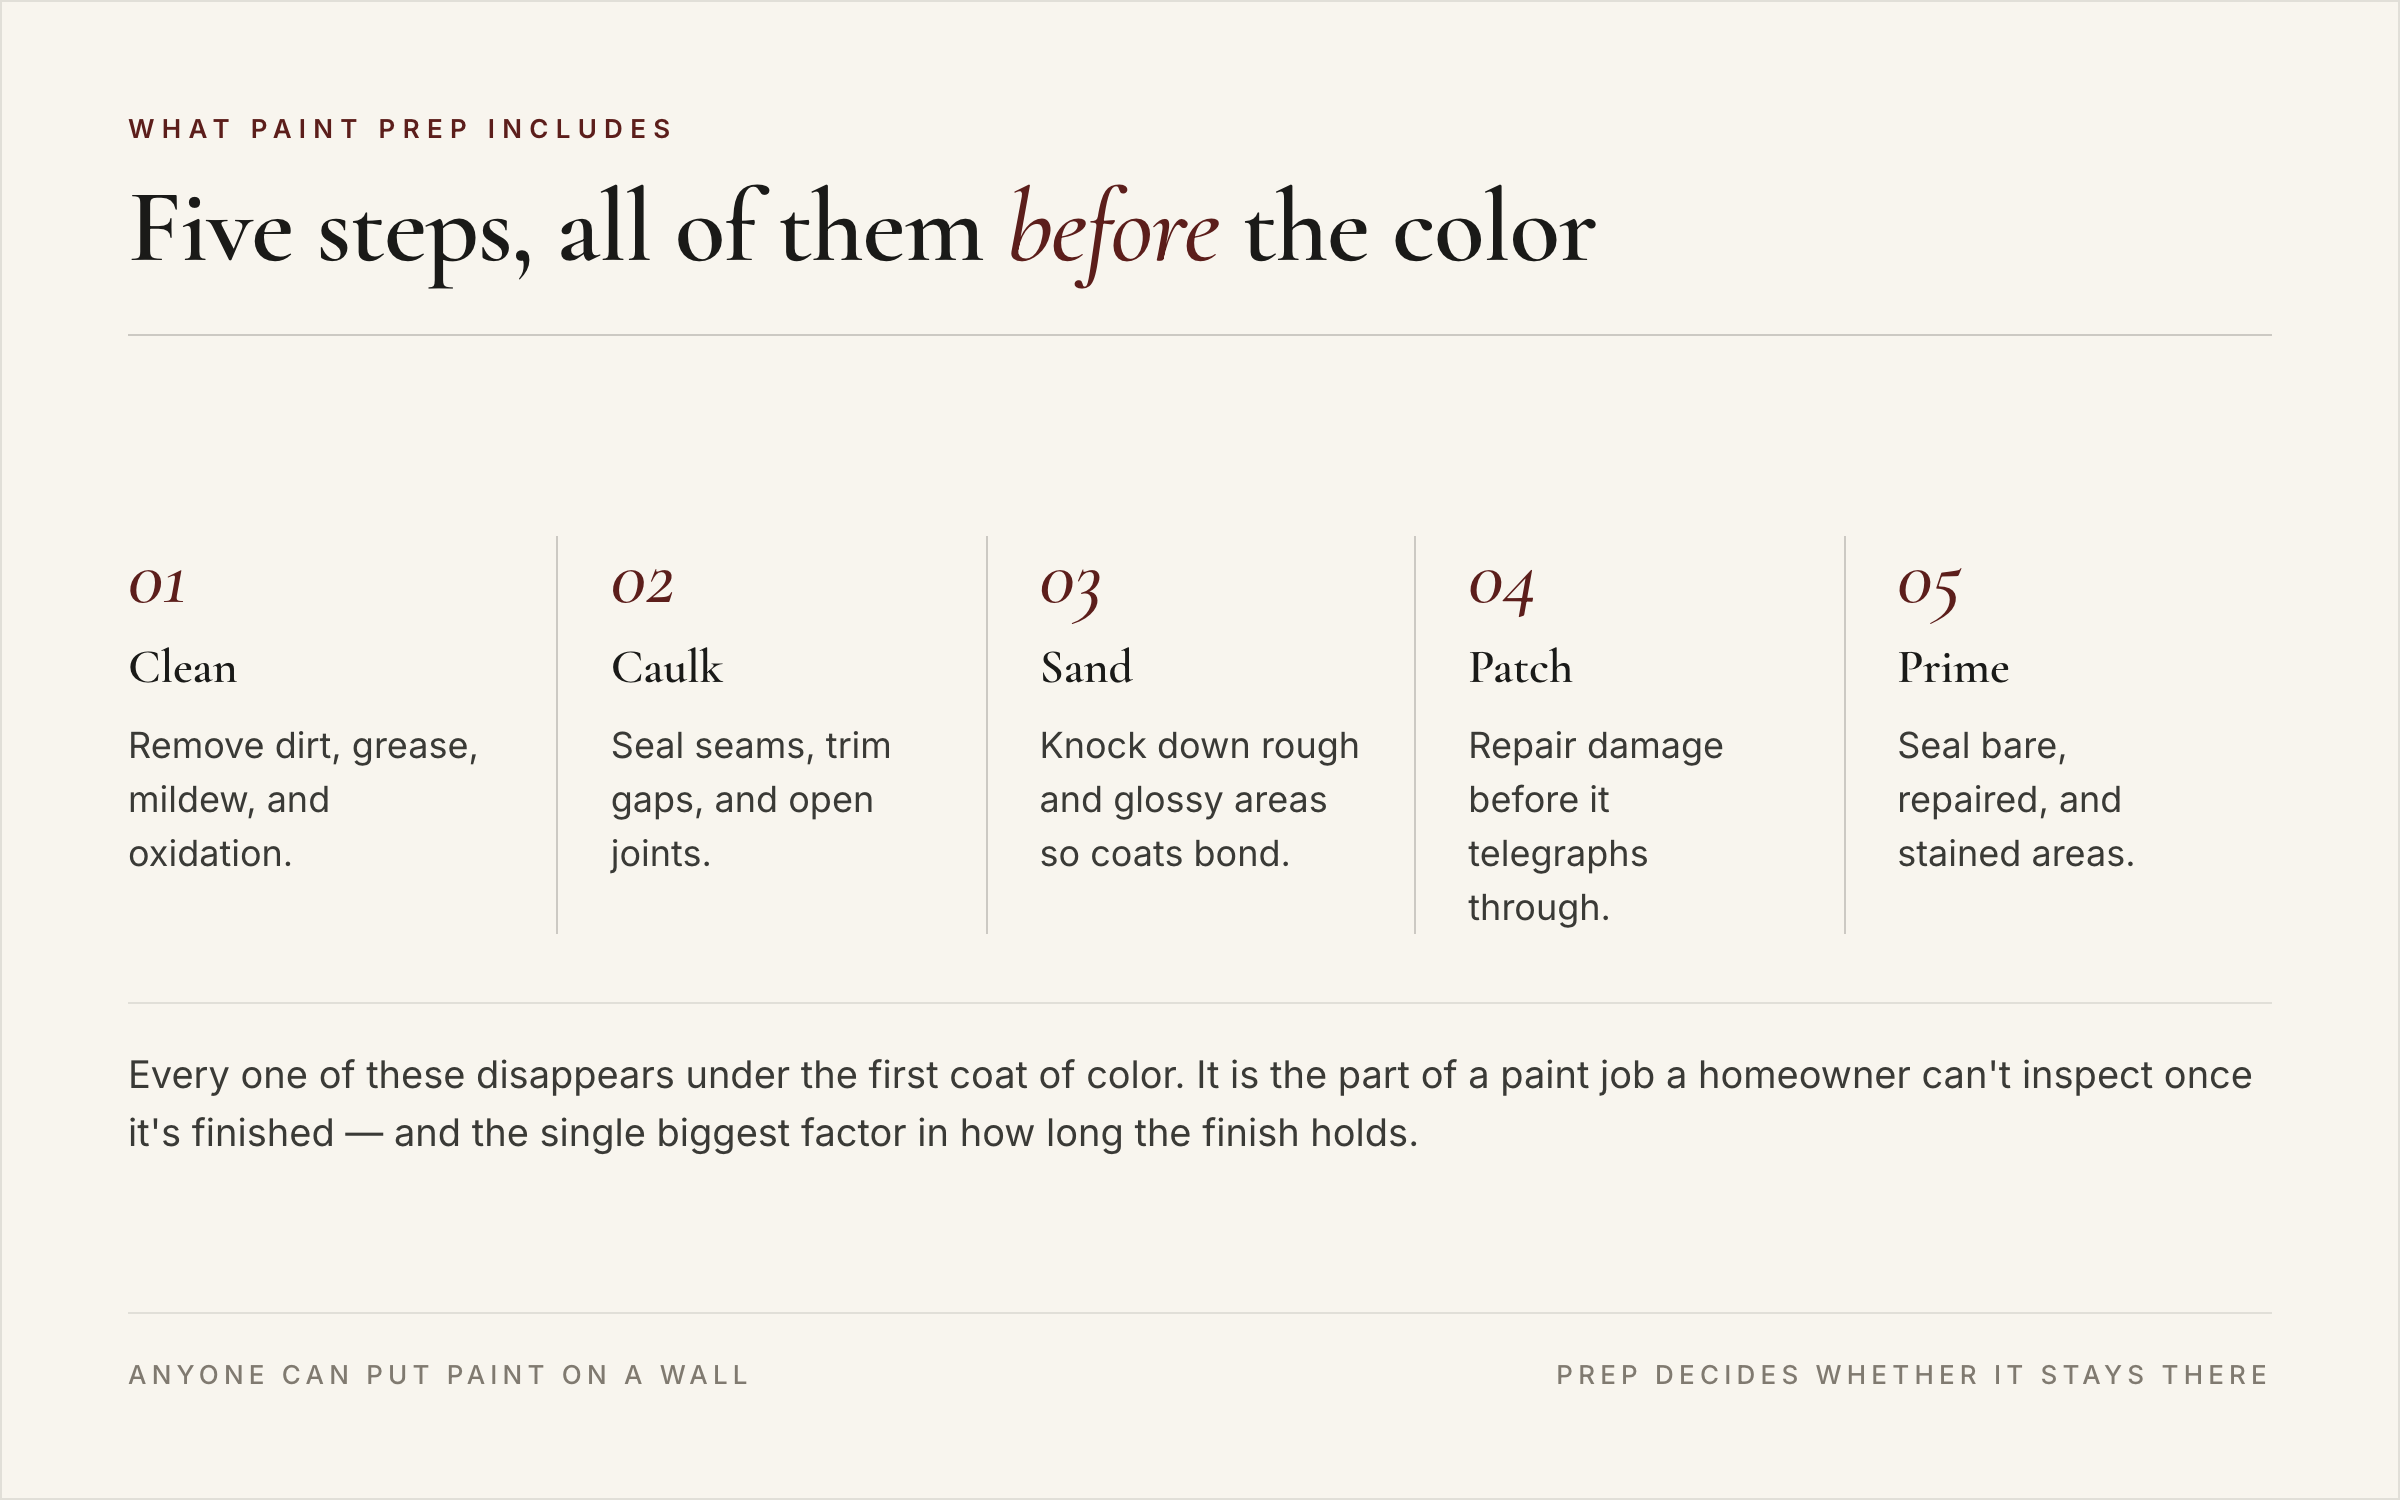
Anyone can put paint on a wall. What determines whether that paint stays on the wall, and for how long, is work that happens before the color goes on and disappears underneath it. A homeowner comparing two finished paint jobs a week after completion generally cannot tell which one had proper prep and which one didn't. That gap only shows up months or years later, which makes prep an easy thing for a price-driven crew to shortcut without the homeowner noticing until it's too late. See how prep affects paint lifespan in Iowa's climate specifically.
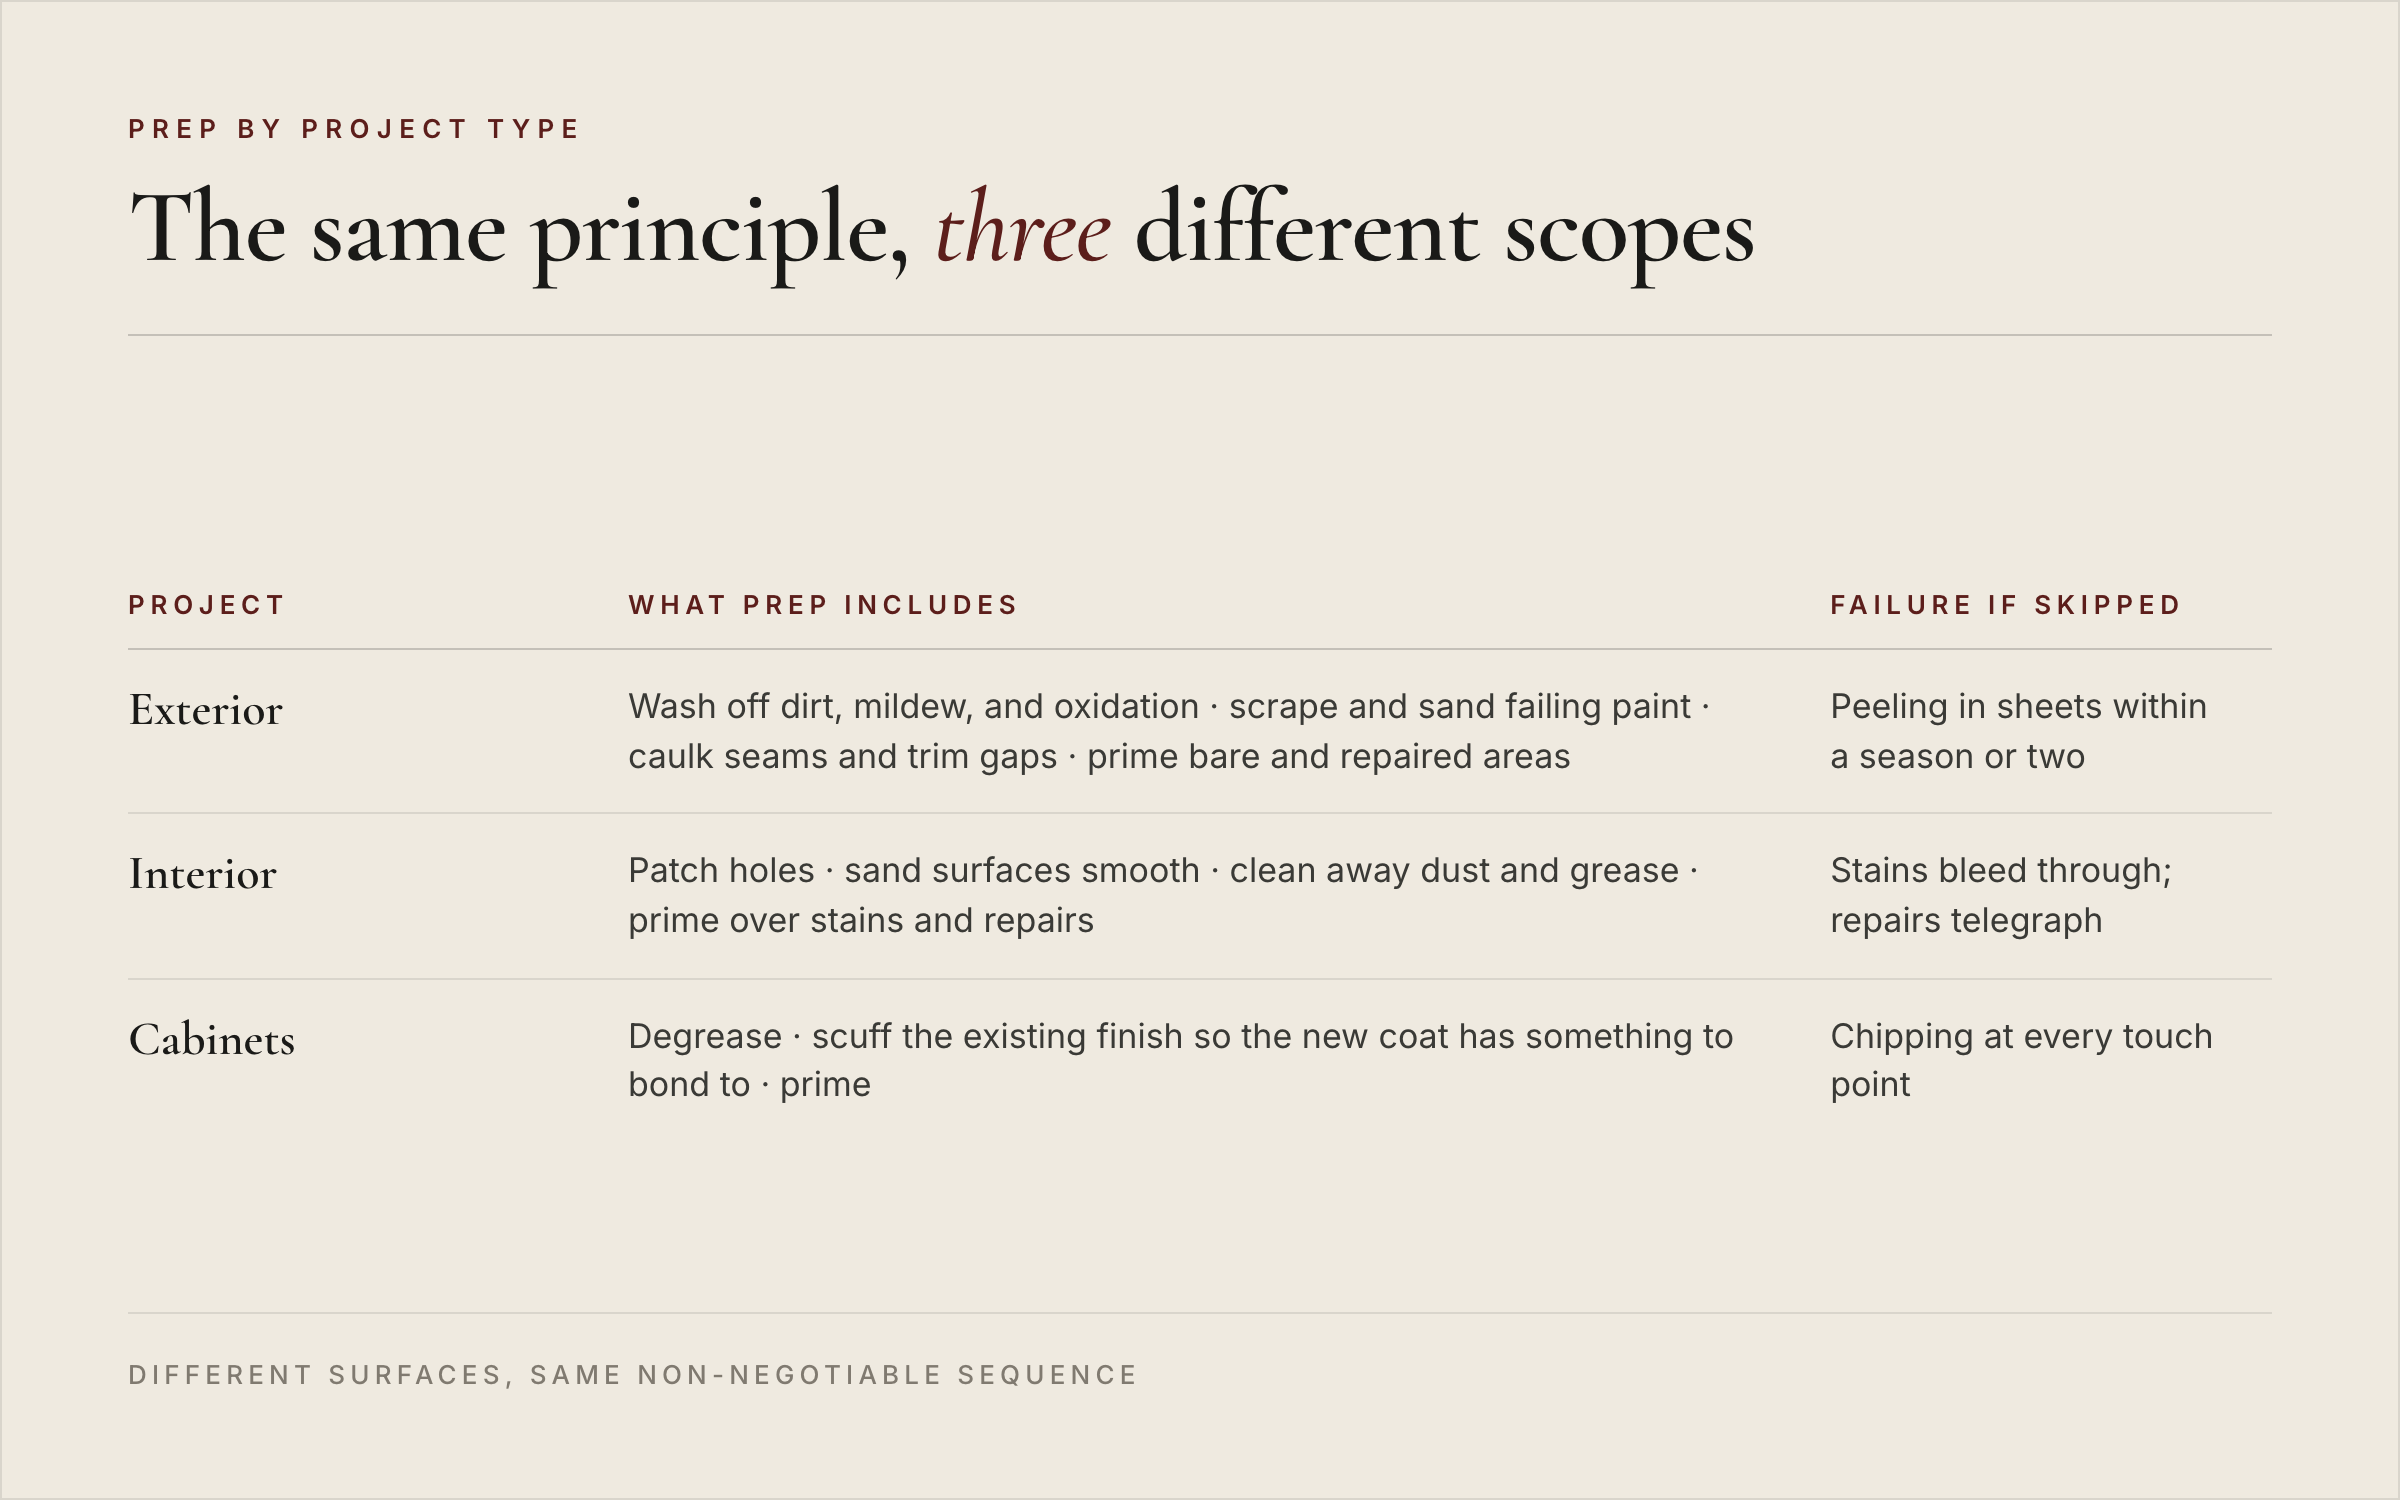
For exterior projects, prep typically includes washing the surface to remove dirt, mildew, and oxidation, scraping and sanding any failing old paint, caulking seams and trim gaps, and priming bare or repaired areas. For interior projects, prep includes patching holes, sanding surfaces smooth, cleaning away dust and grease, and priming over stains or repairs. For cabinets, prep means degreasing, scuffing the existing finish so the new coat has something to bond to, and priming. See the interior painting, exterior painting, and cabinet refinishing pages for how this applies to each project type.

Paint applied over dirt, old failing paint, or an unscuffed glossy surface doesn't bond correctly. The result is a job that can look fine on day one and start peeling, chipping, or lifting within a season or two, at which point fixing it often requires removing everything down to the surface before starting over, a more expensive and involved job than if prep had been done correctly the first time.
Ask any contractor specifically what surface preparation is included in their quote, not just what color and how many coats. A quote that doesn't mention caulking, sanding, or priming as separate line items is worth a follow-up question. See the full list of questions to ask when comparing quotes.
Does prep cost extra, or is it included in a normal quote? A properly scoped quote includes full prep as part of the price, not as an optional add-on. If a quote separates prep into an optional line item, that's worth a direct question about what happens to the finish if it's skipped.
Can I tell if prep was done just by looking at the finished job? Not reliably. Prep quality typically shows up months or years later, not on the day the job is finished.
Veenstra Painting has built its process around full prep on every job in Pella and Oskaloosa since 2005. See more frequently asked questions or learn more about the Veenstra Painting approach.